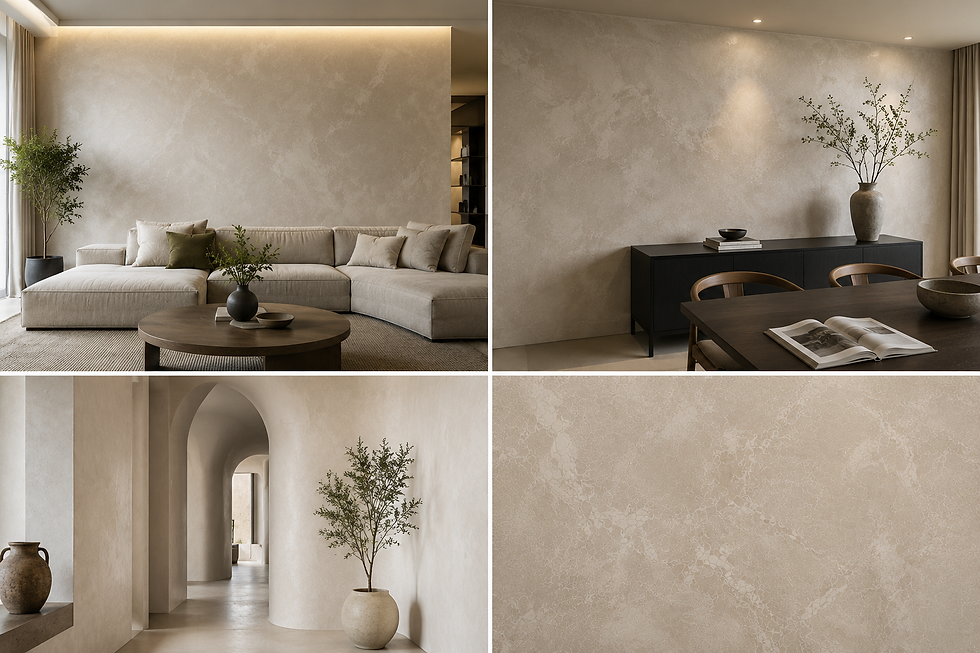
How to Create a Marmorino Mandala Wall with Gold Leaf

A decorative wall does not always need a picture, wallpaper, or traditional molding to become the centerpiece of a room. One of the most dramatic approaches is to combine Marmorino decorative plaster with a large stencil design and genuine or imitation gold leaf.
The result can look like carved stone, aged Italian plaster, or an ornamental wall found in a historic Mediterranean interior. Depending on the stencil and colors you choose, the same technique can also create a modern mandala, geometric pattern, Moroccan-inspired design, or Aztec-inspired feature wall.
The key is to treat the entire wall as one decorative surface first. The pattern is added only after the Marmorino base has been properly created.

What You Will Need
For this project, prepare:
Marmorino decorative plaster
Appropriate wall primer
Stainless-steel Venetian plaster trowel
Small finishing trowel or spatula
Fine sanding paper if required
Large mandala, geometric, or ornamental stencil
Low-tack painter's tape or temporary stencil adhesive
Small stencil spatula
Gold leaf or imitation gold leaf
Gold leaf adhesive, also called gilding size
Soft gilding brush
Clean microfiber cloths
Measuring tape
Level or laser level
Pencil
Protective gloves
A large stencil usually produces the strongest effect. Instead of covering the entire wall with small repetitive patterns, one oversized design can become the architectural focal point of the room.

Step 1: Prepare the Wall
The final result depends heavily on the condition of the substrate.
The wall should be solid, clean, dry, and free of loose paint, dust, grease, or unstable material. Repair major cracks, holes, and damaged areas before beginning.
Marmorino can disguise minor visual imperfections, but it should not be used as a substitute for structural wall preparation.
Apply the recommended primer and allow it to dry completely.
Step 2: Apply Marmorino to the Entire Wall
Do not create the mandala first.
Start by finishing the entire wall in Marmorino. This gives the wall a continuous stone-like surface and makes the decorative design feel like part of the plaster rather than something simply applied on top.
Apply the first coat evenly with a stainless-steel trowel.
The purpose of the first coat is to establish a uniform base and create a relatively smooth surface.
Allow it to dry according to the requirements of the material.
Step 3: Apply the Decorative Marmorino Coat
Apply the next coat using shorter, controlled trowel movements.
This is where the natural movement of Marmorino begins to appear.
You can keep the finish relatively calm and uniform if the mandala will be the main focal point, or create more visible variation if you want a stronger natural-stone appearance.
As the material begins to set, carefully compress and smooth the surface with a clean stainless-steel trowel.
The goal is not necessarily to make every square inch identical. Slight movement and tonal variation are what give Marmorino its depth.
Step 4: Burnish the Surface
When the plaster reaches the correct stage of drying, begin burnishing with a clean trowel held at a shallow angle.
Work gradually rather than applying excessive pressure immediately.
Burnishing compresses the surface and produces the characteristic smooth, polished appearance associated with Marmorino.
For a dramatic feature wall, you can polish selected areas more strongly and leave others softer and more matte. This difference in reflection creates additional depth even before the stencil is added.
Allow the wall to dry thoroughly before starting the decorative pattern.
Step 5: Position the Mandala
This step deserves patience.
Determine exactly where the center of the design should be.
Use a measuring tape and laser level or level to establish your horizontal and vertical reference lines.
For a large mandala, the center does not always need to be in the mathematical center of the wall. An intentionally offset composition can look more contemporary.
Temporarily position the stencil and view it from across the room before applying any material.
Once you are satisfied with the position, secure the stencil carefully.
It must sit flat against the Marmorino surface so plaster cannot easily migrate underneath the edges.
Step 6: Create the Raised Marmorino Pattern
Apply a thin layer of Marmorino over the stencil with a small trowel or stencil spatula.
Keep the application controlled.
A thin relief often looks more sophisticated than an excessively thick one. The objective is to create a pattern that appears integrated into the wall rather than attached to it.
Hold the tool at a slight angle and remove excessive material as you work.
Avoid repeatedly moving the trowel across the same stencil opening because this can force plaster underneath the stencil.
Step 7: Remove the Stencil
Remove the stencil while the applied Marmorino is still workable.
Do not wait until it becomes completely hard.
Pull the stencil away slowly and evenly without sliding it sideways across the surface.
The mandala should now appear as a slightly raised plaster relief.
Small imperfections are not necessarily a problem. Marmorino is a handmade decorative finish, and slight variation can make the design look more authentic.
If necessary, carefully correct individual areas with a small artist's spatula.
Step 8: Let the Relief Dry
Allow the decorative pattern to dry.
Once dry, inspect the edges.
If any areas are excessively sharp or rough, lightly refine them. Do not aggressively sand away the handmade character of the design.
At this stage, the wall can already be beautiful without any additional decoration.
For a more luxurious finish, continue with gold leaf.
Step 9: Decide Where the Gold Will Go
Gold works best when it is used selectively.
Covering the entire mandala in gold can overpower the Marmorino. Instead, choose individual lines, rings, symbols, borders, or small sections of the design.
This creates flashes of gold that appear and disappear as the viewer moves through the room.
The contrast between polished mineral plaster and metallic leaf is what makes the technique particularly effective.
Step 10: Apply Gold Leaf Adhesive
Using a small brush, apply gilding size only to the areas intended for gold.
Follow the working time specified for the adhesive.
Gold leaf should generally be placed once the adhesive reaches the correct tack rather than while it is completely wet.
Working on small areas gives much better control than coating the entire design at once.
Step 11: Apply the Gold Leaf
Carefully place the gold leaf over the prepared area.
Use a soft gilding brush to press it gently onto the adhesive.
Do not rub aggressively.
Continue adding pieces until the selected portion of the design is covered.
Once the leaf is attached, use the soft brush to remove excess material.
Small breaks and irregularities can actually improve the appearance when the goal is an aged or handcrafted effect.
If you prefer a very clean contemporary look, touch up missing areas with additional adhesive and leaf.
Step 12: Final Inspection
Step several feet away from the wall.
Do not judge the design only from a few inches away.
Look at:
The balance of the mandala
The relationship between polished and matte areas
The amount of gold
The visibility of the relief
The way light moves across the surface
Sometimes the best decision is to stop.
A sophisticated decorative wall usually needs less additional decoration than expected.

Optional Design Variations
The same technique can produce many completely different styles.
Tone-on-Tone Mandala
Use the same Marmorino color for the wall and the raised stencil.
The design becomes visible mainly through light, shadow, texture, and reflection.
This creates a very elegant architectural effect.
Contrasting Marmorino
Use a slightly lighter or darker Marmorino for the stencil.
The pattern becomes more visible while still maintaining the appearance of a mineral plaster wall.
Aged Gold
Apply gold leaf irregularly rather than creating a perfectly continuous metallic line.
The result can resemble an antique decorative surface that has aged naturally over time.
Modern Gold Accent
Keep the Marmorino extremely clean and minimal, then use gold only on a few precise elements of the design.
This approach works particularly well in contemporary interiors.
Mandala or Aztec-Inspired Geometry
A mandala is not the only option.
Large geometric, tribal-inspired, Art Deco, Moroccan, Mediterranean, or Aztec-inspired stencils can be created using exactly the same general technique.
The choice of pattern completely changes the personality of the wall.
Why Marmorino Works So Well for This Technique
Ordinary paint gives a wall color.
Marmorino gives it depth, movement, texture, and changing reflection.
When a raised ornamental pattern is created from the same material, the design reacts to light differently from the surrounding wall. From one angle it can appear subtle; from another angle the entire pattern becomes visible.
Adding small amounts of gold introduces another reflective surface.
The result changes throughout the day as natural and artificial light moves across the wall.
That is what makes this technique difficult to reproduce with ordinary flat paint or printed wallpaper.
Important Application Tips
Always create a sample before starting the main wall. Test the Marmorino, stencil depth, burnishing technique, gold leaf adhesive, and final appearance together.
Keep stainless-steel tools extremely clean. Dried material on the edge of a trowel can scratch a polished surface.
Do not make the stencil relief unnecessarily thick. Controlled relief usually produces cleaner details.
Plan the gold before applying it. Gold should emphasize the design rather than compete with it.
Most importantly, allow each stage to dry properly before moving to the next one.
A Wall That Becomes Artwork
The purpose of this technique is not simply to decorate a wall.
It is to create a surface that behaves like a piece of architectural artwork.
Marmorino creates the mineral foundation. The mandala introduces dimension and geometry. Gold leaf catches the light and highlights selected details.
No two walls made this way will ever be exactly identical.
That handmade variation is part of the beauty of decorative plaster—and one of the reasons Marmorino continues to be used for distinctive interiors where ordinary paint is simply not enough.